

Injection Molding Masterbatch Selection: Expert Recommendations for Optimal Results
2026-08-06
Masterbatch selection can make or break an injection molding project. The right choice delivers vibrant, consistent color and enhanced performance, while the wrong one leads to defects, downtime, and cost overruns. At Xinwancai, we know there’s no one-size-fits-all answer—so we’ve gathered field-tested recommendations to help you navigate the complexities and achieve flawless results. Read on to discover the critical factors that separate high-quality parts from costly rejects.
Why Your Masterbatch Keeps Failing (And How to Fix It)
Masterbatch failures rarely announce themselves with a single, dramatic event. Instead, they creep in through a slow erosion of quality: uneven color dispersion, surface defects in the final product, or processing hiccups that disrupt production rhythm. These issues almost always trace back to a handful of root causes that get overlooked in the rush to maintain output. The carrier resin might not match the base polymer closely enough, leading to poor compatibility and weak melt blending. Pigment agglomerates can form if the dispersion step wasn’t given enough shear or time, leaving behind specks and streaks. Even the loading level—too low to achieve target opacity, or so high that it throws off viscosity—can sabotage the entire batch. Recognizing these subtle signs early is half the battle.
Fixing a failing masterbatch starts with re-examining your raw material choices. Switch to a carrier that mirrors your main polymer’s melt flow index and chemical structure; this small adjustment often clears up dispersion problems overnight. If you’re battling pigment clumps, consider pre-dispersing the pigment in a small portion of liquid carrier before introducing it to the main mixer, or upgrading to a twin-screw extruder with better distributive mixing elements. For loading-related headaches, run a quick trial at different let-down ratios to find the sweet spot where color strength and mechanical properties align. And don’t ignore moisture—drying both the masterbatch and the base resin before processing can prevent bubbles and streaking that mimic poor dispersion.
Beyond formulation, your process conditions hold equal power to make or break batch consistency. A temperature profile that’s too cool fails to lower melt viscosity enough for thorough mixing; too hot risks degrading the pigment or carrier. Adjusting screw speed and back pressure can achieve the shear you need without overworking the melt. Sometimes the simplest fix is a thorough cleaning of your equipment—residue from previous runs acts like a contaminant, subtly shifting color or creating gels. And if all else fails, step back and evaluate your supplier’s particle size distribution: an oversized pigment particle can’t be fixed downstream, no matter how precise your processing. Persistent quality demands both formulation science and a willingness to chase down the less obvious culprits.
The Hidden Cost of Cheap Colorants in Injection Molding
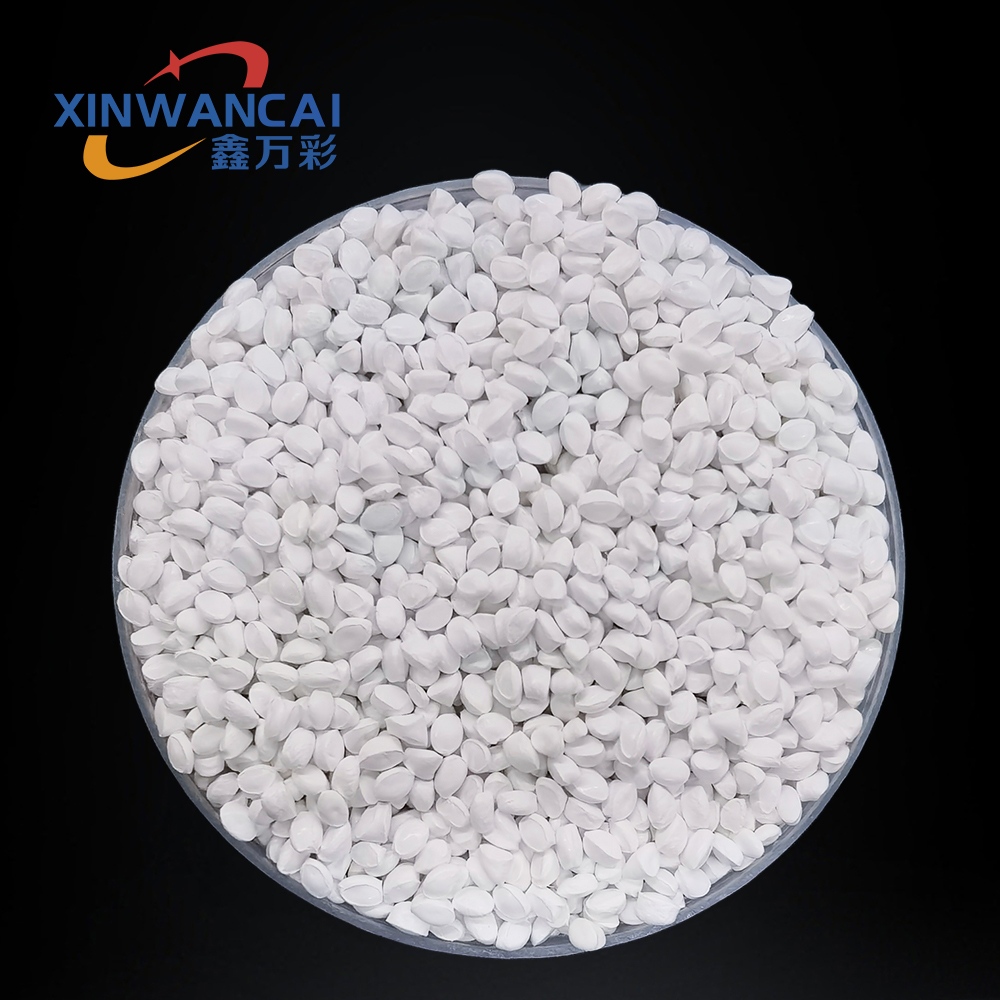
Many manufacturers are quick to jump on lower-priced colorant options, viewing them as an easy win for the budget. But what often slips under the radar is how these seemingly affordable choices can quietly erode production efficiency. Inconsistent dispersion, unpredictable melt behavior, and a tendency to degrade under processing temperatures are just the start. The minutes lost to purging, rework, and machine downtime stack up fast, transforming that upfront discount into a significant operational burden.
Then there’s the material scrap that nobody likes to talk about. Cheap colorants frequently lead to streaking, color shift, or outright rejects that can’t be salvaged. Every rejected part isn’t just wasted resin—it’s lost energy, machine time, and labor. Over a production run, what looks like a minor defect rate can balloon into tons of regrind or landfill-bound waste, silently draining profitability in a way that standard cost-tracking rarely captures.
Beyond the factory floor, the ripple effects hit harder. A batch of off-spec parts that reaches the customer can trigger returns, reputational damage, or even compliance failures if the colorant’s chemistry doesn’t meet regulatory standards. Cheaper alternatives sometimes bring unwanted surprises—poor UV stability, migration issues, or interactions with other additives—that only surface weeks or months later. At that point, the costs of recalls and lost trust dwarf any initial savings.
Matching Masterbatch to Polymer: A Quick Compatibility Checklist
Getting the masterbatch and base polymer to work together isn’t just about color—it’s about chemistry, processing behavior, and final product integrity. When they’re mismatched, you can end up with streaking, delamination, or even brittleness that wrecks an entire run. The trouble often starts when the carrier resin in the masterbatch doesn’t blend well with the main polymer, creating weak spots or uneven dispersion. Skipping this check might save a few minutes up front, but it can cost hours in downtime and scrap.
A handful of clues can quickly tell you if you’re on the right track. First, check whether the carrier resin is chemically similar to your base polymer—polyethylene carriers usually play nicely with PE, while PP-based carriers belong in polypropylene. Melt flow index (MFI) is another big one: if the masterbatch flows too easily compared to the base resin, it might not mix evenly; if it’s too thick, dispersion suffers. Also consider any secondary additives, like uv stabilizers or processing aids, and make sure they don’t react poorly with the base material. Finally, look at the processing temperature window—some pigments degrade or shift color outside a narrow range, so confirm the masterbatch can handle your extrusion or molding heat.
Before committing to a full batch, run a small-scale trial if you can. Even a quick lab extrusion or injection shot will reveal surface defects, color spots, or mechanical weakness that a datasheet won’t. Talking through your parameters with the masterbatch supplier can also uncover subtle issues—like a certain lot of polymer behaving slightly off-spec. Over time, building a short compatibility checklist that includes carrier type, MFI match, additive synergy, and temperature limits keeps guesswork to a minimum and production humming.
Beyond the Spec Sheet: What Suppliers Don't Tell You About Dispersion
When suppliers hand over a dispersion datasheet, they’re showing you the polished final act, not the messy rehearsal. Those viscosity curves and particle size distributions rarely reveal how the material behaves when it’s been sitting in a warehouse through a hot summer, or what happens when your mixing equipment isn’t a perfect match for their lab setup. Real-world stability issues—agglomeration, sedimentation, or unexpected rheology shifts—often trace back to subtle formulation tweaks that never make it into print.
Process compatibility is another ghost in the spec sheet. A dispersion that flows beautifully under controlled shear might turn into a thick, unworkable paste when your production line introduces a slightly different shear history, or when it encounters trace moisture from your facility’s air handling. Experienced formulators learn to ask about the dispersion’s tolerance to common production variables: dwell time in pipes, recirculation pump speeds, and even the metallurgy of your storage tanks can rewrite the performance story.
Then there’s the quiet art of raw material trade-offs. Suppliers may switch sources for dispersants or carriers without changing the product code, subtly shifting the dispersion’s interaction with your binder system. The spec sheet’s tight ranges can mask a drift that only shows up weeks later, in cured film properties or color development. The real insight comes from running long-term storage tests with your actual letdown formula and evaluating applied samples under your own conditions—not just trusting the supplier’s benchmark data.
Mastering Multi-Cavity Color Consistency: Tricks from the Floor
You’d think getting the same shade across eight or sixteen cavities is just a matter of using the same resin, but anyone who’s sweated on a production floor knows it’s never that simple. I’ve seen runs where Cavity 3 looked like a faded lemon while Cavity 7 was punching you in the face with neon yellow—same batch, same masterbatch percentage. The real culprit? Heat history. Even with identical barrel profiles, slight differences in how the melt shears and flows into each cavity create thermal variations that shift the colorant’s behavior. We started mapping the actual melt temperature at the nozzle right before injection—not the setpoint, but the real number from a flush-mounted thermocouple—and adjusting the hot runner zones individually. That alone closed most of the gap.
But temperature mapping only gets you so far. The trick that really made it sing was watching the fill pattern like a hawk. When you have a multi-cavity tool, you’re dealing with a distribution network inside the mold, and any imbalance there means some cavities pack and cool faster than others, locking in different crystallization levels that mess with light scattering and color perception. We used high-speed cameras and short shots to dial in the valve gate sequencing. For one stubborn job, we found that opening Cavity 6 a tenth of a second earlier than the rest—just a tiny tweak—evened out the fill across all eight and suddenly the color delta dropped below 0.8 dE. Nobody expects a timing fix to solve a color problem, but it does.
Then there’s the less glamorous stuff that still gets overlooked: the regrind ratio. You might think 5% regrind is harmless, but those pellets carry a different thermal history and particle size, which changes how they hold the pigment. We’ve had shifts where color drifted from morning to afternoon simply because the grinder was running hotter after lunch and producing slightly different regrind. We started vacuum-drying all regrind to a consistent moisture level and sieving it to remove fines before blending, and the shift-to-shift consistency tightened up considerably. It’s these little floor-level adjustments—not just the grand recipe—that turn multi-cavity color from a headache into a repeatable process.
When to Walk Away: Red Flags in Masterbatch Trials
Testing a new masterbatch can feel like a leap of faith, but sometimes the signs are so glaring that walking away is the only sane option. One of the first red flags is inconsistent dispersion—if you’re seeing specks, streaks, or mottled surfaces even after tweaking processing parameters, that masterbatch simply lacks the compatibility your resin system demands. Pushing harder won’t magically fix a poorly engineered carrier or inadequate pigment wetting; in fact, it often leads to degradation, off-odors, or brittle mechanicals that only emerge at scale—far too late.
Color drift under process heat is another dealbreaker that’s surprisingly common. You might nail the shade during a brief lab test, but run the material through prolonged residence times or multi-pass regrind simulations and watch the Delta E explode. A reputable supplier should provide heat stability data upfront, and if they can’t—or worse, if your own checks reveal dramatic shift at standard barrel temps—it’s time to end the trial. The same goes for lot-to-lot variation that presents itself even in sample form. When the second shipment looks noticeably different from the qualification batch, you’re staring at a supply chain disaster waiting to happen.
Finally, pay attention to how the supplier behaves during the trial process. Are they defensive, evasive, or unable to provide technical documentation like melt curves or regulatory compliance statements? If they fail to troubleshoot issues collaboratively or blame your equipment for problems that don’t arise with incumbent materials, that’s a red flag in itself. A trial should be a partnership, not a series of excuses. Trust your instincts: if the masterbatch isn’t making your life easier right out of the gate, it rarely improves once it’s locked into a formal supply agreement.
FAQ
The primary factors are polymer compatibility, processing temperature range, and the required dispersion quality. The carrier resin must match or be highly compatible with the base polymer to prevent delamination or mechanical failure. Additionally, the melt flow index (MFI) of the masterbatch should be close to that of the base resin to ensure even mixing and avoid flow marks. Processing temperatures must align with the masterbatch’s thermal stability to prevent pigment degradation or off-gassing. Finally, particle size distribution and pigment loading directly influence color consistency and mechanical properties in thin-walled parts.
Particle size determines dispersion uniformity and surface finish. Larger agglomerates can cause visible streaks, color variations, and even stress concentration points that reduce impact strength. For high-gloss or transparent parts, ultra-fine pigments with narrow size distribution are essential to avoid haze. In technical parts, submicron dispersion improves tensile and flexural properties by minimizing stress risers. A well-micronized masterbatch also reduces screen pack clogging during molding, ensuring longer uninterrupted runs.
The carrier resin acts as a bridge between the concentrated pigment and the base polymer. If the carrier is immiscible with the base resin, you get poor dispersion, delamination, and surface defects like splay or orange peel. For instance, using an LDPE-based masterbatch in polycarbonate leads to catastrophic brittleness. Ideally, the carrier should be the same polymer family and have a similar viscosity profile to promote interfacial adhesion and mechanical integrity, especially in multi-cavity or high-speed molding.
Beyond color, masterbatches can incorporate processing aids like internal lubricants to reduce cycle time and demolding forces. Anti-static additives prevent dust attraction on finished parts, while UV stabilizers prolong outdoor lifespan without additional compounding steps. Nucleating agents can increase crystallinity in semi-crystalline polymers, improving stiffness and shortening cooling time. The key is to integrate these additives without sacrificing color accuracy or causing plate-out on the mold surface.
Conducting a small-scale trial is vital. Start with a let-down ratio recommended by the supplier and mold tensile bars or color chips. Evaluate dispersion using a microscope on microtomed sections—ideal dispersion shows no agglomerates larger than 1 micron. Perform mechanical testing (tensile, impact) to compare against virgin resin; a drop greater than 10% signals incompatibility. Also, run the masterbatch continuously for 30 minutes and inspect the mold for deposits, which indicate additive incompatibility or overheating.
The most common error is prioritizing cost over carrier compatibility, leading to a 'universal' masterbatch approach that fails with engineering resins like nylon or PBT. Another mistake is ignoring the masterbatch’s moisture sensitivity: some carriers absorb humidity, causing splay and hydrolytic degradation during molding. Overlooking the let-down ratio’s impact on mechanical properties is also risky—excessive dilution with cheap carrier can lower the heat deflection temperature of the final part. Finally, neglecting to verify the masterbatch’s FDA or regulatory status for specific applications can lead to costly non-compliance.
Conclusion
Masterbatch failures in injection molding rarely stem from a single defect. More often, they’re the compound result of poor pigment dispersion, carrier resin incompatibility, and process conditions that expose weaknesses in the melt. When a color shift appears mid-run or streaks develop across cavities, the instinct is to blame the batch, but the root cause usually sits deeper—misalignment between the masterbatch’s melt flow index and the base polymer, or processing temperatures that exceed the pigment’s thermal stability. Fixing this means moving beyond a generic “universal” carrier and verifying that the masterbatch’s rheology truly mirrors the host material. Simple checks—like comparing viscosity curves or observing how the melt behaves during purging—can prevent hours of downtime. It’s not about finding a faultless product; it’s about establishing a reproducible window where dispersion, letdown ratio, and screw recovery work in sync.
Price-driven sourcing often backfires. Cheap colorants can introduce variability that manifests as inconsistent opacity, plate-out on mold surfaces, or high rejection rates in multi-cavity tools. What looks like a saving on paper turns into hidden costs through scrap and rework. Smart selection requires looking past the technical data sheet: a supplier’s dispersion test might pass under ideal lab conditions but fail under the shear and heat of your specific press. Trust observations off the line—check for pigment agglomerates in a thin-film plaque, monitor cavity-to-cavity delta E values over a full shift, and watch how the material handles residence-time fluctuations. Red flags include any masterbatch that demands constant adjustment of screw speed just to maintain color, or a supplier who can’t explain their carrier’s molecular weight. The goal isn’t perfection on the first trial, but enough insight to know when to walk away and when to tweak the process for truly optimal results.
Contact Us
Contact Person: JACK
Email: [email protected]
Tel/WhatsApp: 86 18650130917
Website: https://www.xinwancai.com/