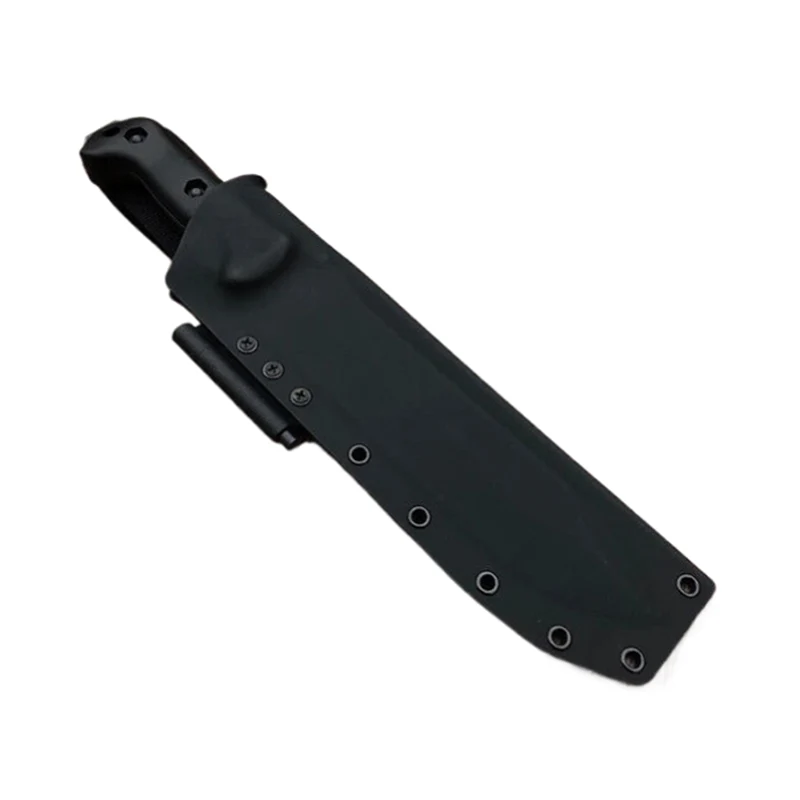
How to Make a Leather Sheath for a Knife: A Step-by-Step Guide
2024-12-13
Creating a leather sheath for your knife is a practical and rewarding DIY project. A sheath not only protects the blade and ensures safety but also adds a personal touch to your tool. Follow these steps to craft a durable and stylish leather sheath.

Materials and Tools You’ll Need
- Vegetable-tanned leather (thickness: 6–8 oz is ideal)
- Knife (to measure and fit)
- Cutting tools (sharp utility knife or leather scissors)
- Awl (for marking stitching holes)
- Ruler and compass
- Waxed thread and needles
- Leather adhesive (optional)
- Edge beveler and burnishing tool
- Dye and finish (optional)
- Clamps or clips
Step 1: Measure the Knife
1. Place the knife on the leather and fold it over to create a pouch. Leave a slight margin around the knife for stitching and fit.
2. Use a pencil or awl to trace the outline of the knife onto the leather.
Step 2: Create the Pattern
1. Add a 1/4-inch seam allowance around the traced knife outline. This extra space will accommodate stitching.
2. If the sheath includes a belt loop, extend the leather design upward and fold it down to form the loop.
Step 3: Cut the Leather
1. Use a utility knife or leather scissors to cut along the pattern lines carefully.
2. Cut two pieces: the main sheath and a backing piece if needed for reinforcement.
Step 4: Create the Belt Loop
1. Fold the extended leather flap down to form the belt loop.
2. Use adhesive to secure the flap in place. Stitch along the bottom edge for extra durability.
Step 5: Glue the Edges
1. Apply leather adhesive to the edges of the sheath where the two pieces will join.
2. Press the pieces together firmly and let the adhesive set.
Step 6: Punch Stitching Holes
1. Use an awl or a stitching chisel to make evenly spaced holes along the seam.
2. Ensure the holes penetrate through both layers for easy stitching.
Step 7: Stitch the Sheath
1. Use waxed thread and a saddle stitch technique to sew the edges.
- Insert the needle through the first hole from one side and pull it halfway through.
- Repeat from the opposite side for a strong, double-threaded seam.
2. Tie off the thread securely and trim excess.
Step 8: Shape and Fit
1. Insert the knife into the sheath to test the fit. The leather will mold slightly over time for a snug fit.
2. Wet the leather lightly if you want it to shape more closely around the knife.
Step 9: Finish the Edges
1. Use an edge beveler to round the edges of the leather.
2. Burnish the edges with a smooth tool and water or edge finish for a polished look.
Step 10: Dye and Seal (Optional)
1. Apply leather dye if you want a specific color.
2. Seal the sheath with leather finish to protect it from moisture and wear.
Final Thoughts
Making a leather sheath for your knife combines craftsmanship with utility. This project not only enhances your knife’s safety but also showcases your creativity. With patience and practice, you can create a sheath that’s both functional and stylish.


